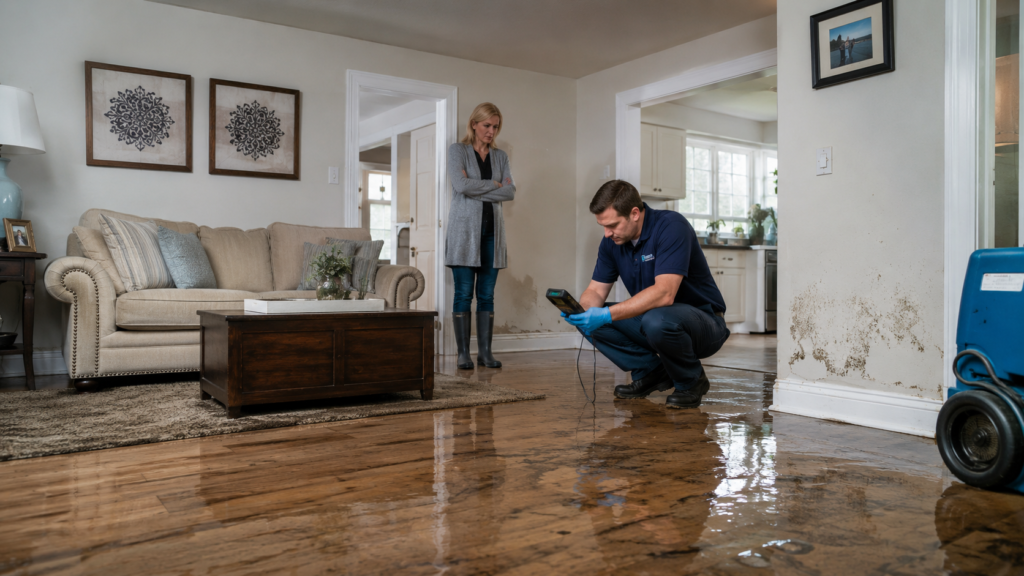
Water damage doesn’t give you a warning. One moment your home is fine the next, there’s standing water soaking through your floors, creeping up your drywall, and working its way into places you can’t see. Whether it started with a burst pipe at 2 a.m., a washing machine overflow, or a storm that forced water under your back door, the clock starts the moment water enters your home.
What you do in the first 24 hours determines how much this costs you, how long recovery takes, and whether you end up dealing with a secondary mold problem weeks later.
Fast water damage cleanup and water mitigation are critical during the first 24 hours. Delays can lead to structural deterioration, mold growth, and higher repair costs. Whether you’re dealing with a burst pipe, appliance leak, or flooding, taking immediate action can significantly reduce the extent of the damage.
This guide walks you through every critical step in order so you can act fast, stay safe, and give your home the best possible chance at a full recovery.
Why the First 24 Hours Are So Critical
Water is deceptively destructive. Within minutes of a leak or flood, water wicks into porous materials drywall, wood subfloor, insulation, carpet padding and begins breaking them down from the inside. Most homeowners don’t realize how quickly the damage compounds.
Here’s what the timeline looks like:
- Within minutes: Water spreads and soaks into porous materials. Paper goods, photographs, and particleboard furniture are damaged almost immediately.
- Within 1–12 hours: Drywall swells and begins to warp. Wood framing absorbs moisture. Metal surfaces start to tarnish. Furniture finishes bleed onto flooring.
- Within 12–24 hours: Mold spores, which exist naturally in every home, begin to colonize wet surfaces. The CDC and EPA both note that mold can begin growing within 24–48 hours of water exposure under the right conditions.
- After 48+ hours: Mold becomes visible. Structural materials like subfloor and wall studs may be compromised. Costs escalate significantly.
According to FEMA’s National Flood Insurance Program Claims Handbook, starting the cleanup process immediately reduces how much additional damage occurs and increases the likelihood of saving materials and belongings. Every hour of delay increases both the damage scope and your out-of-pocket costs.
Step 1: Make Sure It’s Safe to Enter
Before you touch anything, stop and assess safety. This is the step most homeowners skip in a panic — and it can be dangerous.
Check for these hazards before entering any water-damaged area:
- Electrical risk: Water and electricity are lethal. If standing water is near any outlets, appliances, or your electrical panel, do not enter until the power has been shut off at the breaker. If you cannot safely reach the breaker, call your utility company before entering.
- Structural damage: Check your ceiling for sagging, bulging, or visible cracks. A saturated ceiling can collapse without warning. Look at load-bearing walls for bowing. If there’s any sign of structural compromise, stay out and call a professional.
- Gas leaks: If you smell gas or suspect a gas line was affected, leave immediately, do not turn on any lights or switches, and call your gas company from outside.
- Contaminated water: If the water came from a sewer backup, flooding from outside, or a toilet overflow, it may contain harmful bacteria. The IICRC classifies this as Category 2 or Category 3 water — it requires protective gear (gloves, rubber boots, N95 mask) before you handle anything.
Only once you’ve confirmed the space is safe should you move to the next steps.
Step 2: Stop the Water Source
You cannot begin recovery until the water source is stopped. If water is still entering your home, everything you do next is temporary at best.
How to stop common water sources:
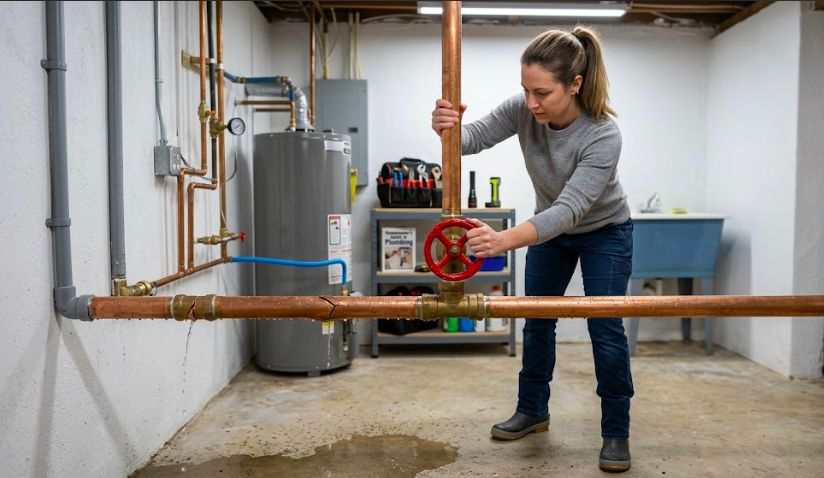
- Burst or leaking pipe: Locate your main water shut-off valve and turn it clockwise until it stops. In most homes this is near the water meter, in the basement, or in a utility closet. Know where yours is before an emergency this is the single most important thing you can do to prepare.
- Appliance leak: Pull the appliance away from the wall and turn off the supply line valve behind it. Washing machines, dishwashers, and refrigerators with ice makers each have a dedicated shutoff.
- Roof or storm water: You can’t stop rain from falling, but you can place buckets, move valuables away from the affected area, and use towels or a wet/dry vacuum to manage water as it comes in. Emergency roof tarping can stop further water intrusion.
- Sewage backup: Do not attempt to clear a sewage backup yourself. Call a professional immediately. Raw sewage contains pathogens that require specialized protective equipment and disposal protocols.
Step 3: Document Everything Before Touching Anything
Before you move a single piece of furniture or pull up any wet carpet, document the damage thoroughly. This documentation is your insurance claim and your protection if there’s any dispute later.
What to document:
- Walk through every affected room and record video on your phone. Narrate what you see, including water lines on walls, soaked materials, and damaged belongings.
- Take still photographs from multiple angles in each room.
- Photograph the source of the water damage the burst pipe, the cracked supply line, the point of roof intrusion.
- Photograph all damaged personal property: electronics, furniture, clothing, appliances.
- Note the make, model, and serial number of any damaged appliances.
- Save all receipts from any emergency supplies you purchase (wet/dry vacuum, fans, cleaning supplies).
Do this before cleanup begins. Once you move or throw out damaged items, you may lose your ability to claim them. FEMA’s guidance is clear: photograph and label everything by room before removal.
If you have a home inventory or insurance policy documents, have them ready. You’ll need your policy number when you call your insurer in Step 6.
Step 4: Begin Water Extraction and Water Damage Cleanup
Standing water is the engine of all secondary damage. The faster you remove it, the less damage spreads to materials that might otherwise survive. Professional water extraction and water damage cleanup services can remove water much faster than consumer equipment, helping prevent additional property damage.
Your options for water removal:
- Wet/dry vacuum (shop vac): Good for small amounts of standing water a few inches in a contained area. Most hardware stores rent them if you don’t own one.
- Submersible pump: For larger volumes of water (a flooded basement with several inches or more), a submersible pump moves water much faster than a shop vac. You can rent these at home improvement stores.
- Mops and towels: For thin layers of water on hard flooring after the bulk is removed.
- Professional extraction equipment: Truck-mounted extraction units used by restoration companies can remove hundreds of gallons in a fraction of the time any consumer equipment can manage. If the flooding is significant, this is the fastest and most effective option.
As you remove water, work from the outer edges toward the source. Don’t push water from one room into another you’re spreading the damage.
After water removal, begin air movement immediately. Open windows and interior doors if outdoor conditions allow (avoid doing this during high humidity it can make drying slower). Run ceiling fans. Place portable fans to create air circulation across wet surfaces. If you have a dehumidifier, start it running.
Step 5: Protect Your Belongings and Prevent Further Damage
Once standing water is removed, your priority shifts to protecting what can be saved and minimizing further absorption.
What to do with your belongings:
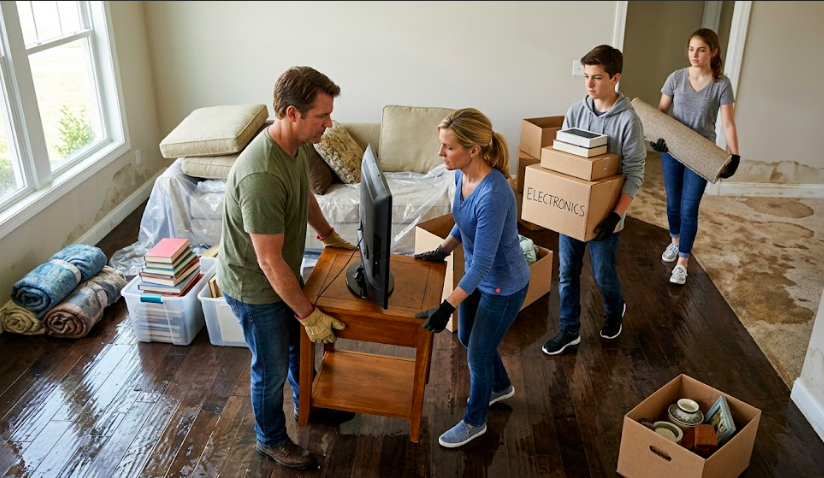
- Move furniture and rugs out of the wet area immediately. Furniture legs left in standing water or on wet carpet will bleed stain onto flooring and continue to absorb moisture.
- Place aluminum foil or plastic wrap under furniture legs if you can’t move the furniture entirely.
- Remove wet rugs and take them outside to dry in the sun if possible. Saturated carpet padding almost always needs to be replaced it holds moisture for days and becomes a mold incubator.
- Move wet clothing, bedding, and soft goods outside or to a dry area. Run the washing machine on a hot cycle for fabric items.
- Raise or relocate anything made of particleboard or pressed wood. These materials swell and disintegrate rapidly when wet and rarely recover.
- Electronics that were submerged should not be powered on. Leave them in a dry, warm area and let them dry for at least 72 hours before attempting to turn them on even then, have them inspected by a professional first.
For walls and ceilings: If your ceiling is sagging or soft, use a screwdriver to poke a small drainage hole at the lowest point. This sounds counterintuitive, but a controlled drain prevents a sudden collapse. Wet drywall that isn’t dried within 24–48 hours will typically need to be cut out and replaced regardless.
Step 6: Call Your Insurance Company
Most homeowners insurance policies require you to notify your insurer promptly after a loss and in many cases, “promptly” means within 24 hours. Delay can give insurers grounds to question your claim.
What to do when you call:
- Have your policy number ready.
- Describe the source of the water damage and when it happened.
- Tell them what emergency steps you’ve already taken (shutting off water, removing standing water, documenting damage).
- Ask about your coverage for emergency mitigation services many policies cover the cost of professional water extraction and drying as part of the claim.
- Ask whether you need to wait for an adjuster before proceeding with repairs. In most cases, you are allowed and encouraged to begin mitigation immediately to prevent further damage. Just keep all your documentation.
One important note: standard homeowners insurance does not cover flooding from outside your home. Storm surge, river overflow, and surface flooding require a separate flood insurance policy through the National Flood Insurance Program (NFIP) or a private flood insurer. If your home flooded from an external source and you don’t have flood insurance, FEMA disaster assistance may be available if a federal disaster has been declared for your area.
Step 7: Call a Certified Water Damage Restoration Company
This is where most homeowners make their costliest mistake: they try to handle significant water damage with consumer-grade fans and dehumidifiers, thinking the damage is drying when it isn’t.
Here’s the problem: moisture hides. It migrates into wall cavities, under flooring, and into ceiling assemblies. Without professional moisture meters and thermal imaging cameras, you cannot see it. Drywall that looks dry on the surface can have studs behind it at 25% moisture content enough to grow mold within days.
A certified restoration company brings:
- Truck-mounted extractors that remove water 10–20x faster than consumer equipment
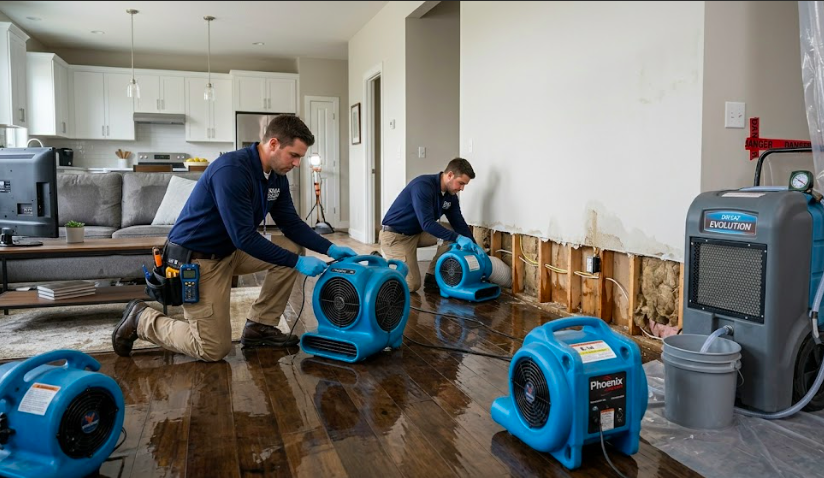
- Industrial air movers (not standard fans) that create targeted airflow patterns for structural drying
- Commercial dehumidifiers that pull 50–200+ pints of water per day from the air (a standard home dehumidifier pulls 30–50 pints at best)
- Moisture meters and thermal imaging to find hidden moisture in walls, subfloors, and ceilings
- IICRC S500 drying protocols the industry standard that defines exactly when materials have reached acceptable dryness before reconstruction begins
Look for companies certified by the IICRC (Institute of Inspection, Cleaning and Restoration Certification) this is the gold standard credential for water damage restoration technicians. An IICRC-certified firm follows documented drying protocols and uses calibrated equipment, which also gives your insurance claim more credibility.
A note on geography and humidity: If you’re in a high-humidity climate like the Gulf Coast professional response is even more urgent. The ambient humidity in places like Lake Charles, Louisiana, accelerates mold onset dramatically compared to drier regions. Restoration companies handling water damage restoration in Lake Charles, LA often treat mold prevention as a Day 1 protocol, not a Day 3 afterthought, because of how quickly conditions deteriorate in subtropical climates. The lesson for homeowners anywhere: your local climate changes the urgency calculation. The more humid your environment, the faster you need to move.
Step 8: Start the Mold Prevention Clock
Even if you’ve done everything right stopped the water, removed standing water, started drying you are in a race against mold. The 24–48 hour window is real, and it’s enforced by biology, not opinion.
Mold prevention steps to take immediately:
- Apply an antimicrobial spray to wet surfaces after water removal. Look for EPA-registered products designed for mold prevention on building materials.
- Keep the air moving continuously mold thrives in still, humid air.
- Monitor the drying process with a hygrometer (a cheap tool available at hardware stores). Indoor relative humidity should be below 50% to inhibit mold growth.
- Do not close up the space or replace removed materials until moisture readings confirm the structure has reached its drying goal.
- If you see any discoloration, black spotting, or smell a musty odor within the first 24 hours, mold may have already begun to colonize. At that point, professional mold remediation becomes part of the restoration scope.
What NOT to Do in the First 24 Hours
Just as important as what you should do:
- Don’t use a regular household vacuum to remove water it’s not rated for liquid and can create an electrocution risk.
- Don’t turn on your HVAC system if it was affected by the water event. Running the system can spread mold spores and contaminated water particles throughout your home.
- Don’t enter rooms with sagging ceilings without first draining the water accumulation above.
- Don’t throw away damaged items before you’ve documented them for your insurance claim.
- Don’t paint over water stains or seal wet materials to “trap” the moisture. This accelerates mold growth inside the wall assembly.
- Don’t assume consumer fans will do the job. They won’t achieve the drying goals required by professional restoration standards, and they give a false sense of progress.
A 24-Hour Action Checklist
Use this as a quick reference during the emergency:
| Time | Action |
|---|---|
| Immediately | Confirm safety electricity, structure, contamination |
| 0–15 min | Shut off water source |
| 0–30 min | Document with photos and video before touching anything |
| 30–60 min | Begin removing standing water |
| 1–2 hrs | Move and protect belongings; begin air circulation |
| 2–4 hrs | Call insurance company |
| ASAP | Call IICRC-certified restoration company |
| Ongoing | Monitor humidity; apply antimicrobial; keep air moving |
Final Word: Speed Is the Difference
Water damage is not a problem that holds still while you think it over. It spreads, it absorbs, it enables mold, and it compounds in cost with every hour that passes. The homeowners who come out of a water damage event with the least damage, the lowest out-of-pocket cost, and the fastest recovery are the ones who acted fast and called professionals early.
If you’re in the Spokane area and water damage Spokane has just hit your home, our team is available 24/7. Call us at (509) 508-5677 for an immediate response.
Leave a Reply